Table of Contents
ToggleMod Organizer 2 (MO2) is the gold standard for managing mods across Bethesda games, Skyrim, Fallout 4, and beyond. Unlike older tools that dump mods directly into your game folder, MO2 uses a virtual file system that keeps your game installation pristine while letting you maintain massive mod lists without corruption risks. Whether you’re running hundreds of mods on PC, exploring the best mod for Skyrim SE, or even setting up a Skyrim VR mod collection, MO2 is non-negotiable for serious modders. It’s free, open-source, and supported by an active community. This guide covers everything you need to get up and running in 2026.
Key Takeaways
- Mod Organizer 2 uses a virtual file system (USVFS) that keeps your game installation clean and prevents corruption, even when managing 500+ mods simultaneously.
- Create separate profiles in MO2 to maintain multiple mod configurations—such as vanilla+, heavily modded, or VR versions—and swap between them instantly without reinstalling.
- Install mods incrementally (2–3 at a time) and test stability before adding more; this limits troubleshooting to only recent additions if something breaks.
- Properly organize the Overwrite folder by creating dedicated mods for tool outputs (xEdit, FNIS, Nemesis) instead of leaving hundreds of loose files cluttering your setup.
- Integrate third-party tools like SKSE64, LOOT, xEdit, and Nemesis directly into Mod Organizer 2 so they operate on your complete virtualized mod stack rather than the bare game folder.
- Back up your load order before major changes using MO2’s built-in backup buttons, allowing you to restore a working configuration in seconds if a mod update causes issues.
What Is Mod Organizer 2 and Why Every Modder Needs It
Mod Organizer 2 is an open-source mod manager built specifically for Windows that handles Bethesda titles and other supported games. The secret sauce is its virtual file system (USVFS), mods don’t get copied into your game’s Data folder. Instead, they’re presented virtually at runtime, which means your actual game directory stays clean.
Why does this matter? Safe experimentation. You can enable and disable mods without reinstalling the game. If something breaks, you flip a checkbox instead of troubleshooting file conflicts. The virtual approach also means you can run multiple mod profiles simultaneously, one for vanilla+ exploration, another for a heavily modded playthrough, a third for testing. Each profile maintains its own mod list, plugin load order, and even INI settings.
For Skyrim VR modding or anyone using the best mod for Skyrim across SE and VR versions, MO2’s profile system is invaluable. The tool also integrates directly with Nexus Mods, meaning you can download and install mods from the browser without leaving the manager. Large mod lists (500+ mods aren’t uncommon) run smoothly in MO2 because it’s engineered for scale and handles frequent install/uninstall cycles without degrading performance or corrupting files.
Installation and Initial Configuration
Getting MO2 running is straightforward. Grab the latest installer from Mod Organizer 2 on Nexus Mods or the official GitHub releases page. Run the installer, choose your installation path (many modders use a dedicated folder like C:ModdingSkyrim SE to keep everything organized), and accept the license.
On first launch, MO2 asks you to pick an instance type. Choose portable instance, this stores all your mods, profiles, and configuration inside the MO2 directory itself, making it easy to back up or migrate to another machine. Then select your game. MO2 scans for supported titles automatically, but you can manually point it to your game executable if needed.
First-Time Setup Essentials
Before installing any mods, run your game launcher through MO2 once. Select the game launcher from the executable dropdown (e.g., “Skyrim SE Launcher”) and click Run. Let it auto-detect your hardware. In Options, choose an appropriate graphics preset for your PC, Ultra if you’re running high-end hardware, Medium if you’re more modest. Set resolution to match your monitor’s native resolution. Close the launcher. MO2 has now generated your INI files in the virtualized environment.
If a mod guide specifies INI tweaks (common for performance optimization), use Tools > INI Editor in MO2 to adjust values like iSize H and iSize W. Always launch the game through MO2’s executable dropdown, whether that’s the game EXE directly or a script extender like SKSE64. This ensures mods are loaded into the virtualized Data folder.
Enable Profile management in MO2 settings if you plan to maintain multiple playthroughs. Each profile can have separate mod lists, plugin load orders, and INI configurations, letting you swap between them instantly without reinstalling anything.
Core Features: Managing Mods, Plugins, and Profiles
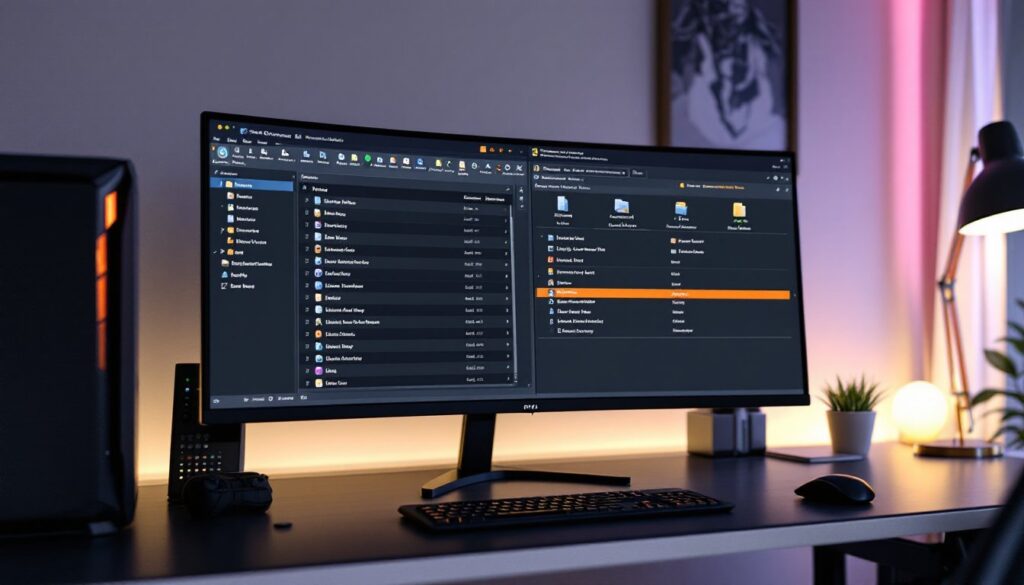
MO2’s interface splits into two critical panes. The left pane shows your installed mods as a list with checkboxes. Order here represents install priority, which mod’s files “win” when multiple mods edit the same asset. Drag mods up or down to change priority. You’ll see conflict icons if a mod is overwriting files from another or being overwritten itself. Hover over these icons to see exactly which files are fighting.
Installing mods is easy. If you download via Nexus with MO2 active, the file lands in MO2’s Downloads tab automatically. Double-click to install and follow the installer dialog (most Nexus mods have auto-detection). The mod then appears in your mod list, check the box to enable it. For manual downloads, click the folder icon in MO2 and select Install a new mod from an archive, then pick your downloaded file.
The right pane shows your plugins (.esp, .esm, .esl files). This is your load order, the sequence in which these files are read by the game. Load order is separate from asset priority and is critical for stability. After adding or removing plugins, use LOOT (a separate tool you can integrate into MO2) to auto-sort your load order. MO2 has backup/restore buttons (blue down arrow to save, yellow to restore) so you can revert load order changes if a new setup crashes.
Working with Mod Lists and Conflict Resolution
Mod lists grow fast. A stable, conflict-free setup requires discipline. The best practice is incremental installation: add 2–3 mods at a time, start a test game, verify stability, then add more. If something breaks, you only have a few suspects. When running tools that generate outputs, like xEdit caches, FNIS output, or Nemesis patch files, they land in the Overwrite folder at the bottom of your mod list. Don’t leave them there. Right-click Overwrite > Create Mod, name it appropriately (e.g., “xEdit Output”), and place it in the right position (typically below source mods for game-affecting outputs). This keeps your mod list organized and prevents the Overwrite folder from becoming a dumping ground of hundreds of loose files.
For large, published mod lists that others maintain, DSOGaming and other gaming news sites often discuss popular community configurations. Understanding how experienced modders organize their lists helps you structure your own. Conflict resolution comes down to priority: if two texture mods clash, whichever is lower in the list wins. If a gameplay mod conflicts with another, sometimes the solution is load order (right pane) rather than asset priority (left pane).
Integrating Third-Party Tools and Troubleshooting Common Issues
MO2’s power multiplies when you integrate external tools. Click the gear icon to add executables. Point MO2 to SKSE64 (for script-dependent mods), xEdit (for conflict detection and patching), FNIS/Nemesis (for animation generation), Wrye Bash, DynDOLOD, or Bodyslide. When you run these tools through MO2, they see your virtualized mod stack instead of the bare game folder, meaning they operate on your complete setup.
Common troubleshooting: Game not seeing mods? Launch through MO2’s executable dropdown, verify mods are enabled (checked in left pane), and check that their plugins are active in the right pane. Crashes after adding a mod? Run LOOT to re-sort your load order. Disable the newest mod and test again. Overwrite growing out of control? Spend 10 minutes sorting its contents into dedicated mods. Migrating to another PC? Portable instances are your friend, copy the entire MO2 directory to the new machine, launch it, and everything works (though you may need to update game paths if install locations differ).
For Xbox Skyrim or mod Xbox Skyrim modding (if using emulation), many principles apply, though Xbox mods are managed differently on console. Rock Paper Shotgun covers PC modding extensively and discusses platform-specific nuances. If you’re building a Skyrim VR mod collection, the same MO2 workflow applies, just ensure mods are VR-compatible and maintain a separate profile for VR vs. standard Skyrim.
One final tip: back up your load order before major changes. MO2’s built-in backup buttons make this trivial. If a new mod update breaks things, you can restore a working load order in seconds instead of hours of detective work.
Conclusion
Mod Organizer 2 is the essential toolkit for anyone serious about modding Bethesda games. Its virtual file system eliminates installation corruption, profiles let you juggle multiple playthroughs, and Nexus integration makes mod discovery frictionless. Whether you’re hunting the best mod for Skyrim, setting up mod Xbox Skyrim emulation, or diving into Skyrim VR mod creation, MO2 handles it all. Start with a portable instance, run your game through MO2, install mods incrementally, and keep your Overwrite folder organized. The learning curve is gentle, and the stability gains are immediate. Join millions of modders already managing their collections with MO2, once you switch, going back to older managers feels archaic.